

Celebrating with Color and Crumbs |
I have a little secret to share: the first time I attempted patriotic bars, I completely overestimated the power of food coloring and ended up with treats that looked more like neon markers than a flag. I was so worried that my guests would be terrified to eat them, but that mistake taught me the golden rule of baking with colors—start small and use a gentle touch to achieve a soft, inviting glow.
You will find that these bars are most magical during those humid July afternoons when the air is thick and the smell of charcoal grills fills the neighborhood. There is something about the contrast of a chilled, sweet dessert against the heat of a summer bonfire that makes these cookie bars feel like an essential part of the holiday tradition.
Please don’t be intimidated if you’ve never baked a ‘bar’ before; I promise you that this process is incredibly forgiving. Even if your layers aren’t perfectly straight or your sprinkles migrate a bit, the warmth and sweetness of these treats will make them a hit with your friends and family regardless of the aesthetic.
- ●The preparation is incredibly streamlined. You can whip up the base in minutes, meaning you spend less time in a hot kitchen and more time lounging .
- ●The flavor profile is a nostalgic blend of vanilla and butter. It tastes exactly like the childhood fairs and summer carnivals we all remember so fondly.
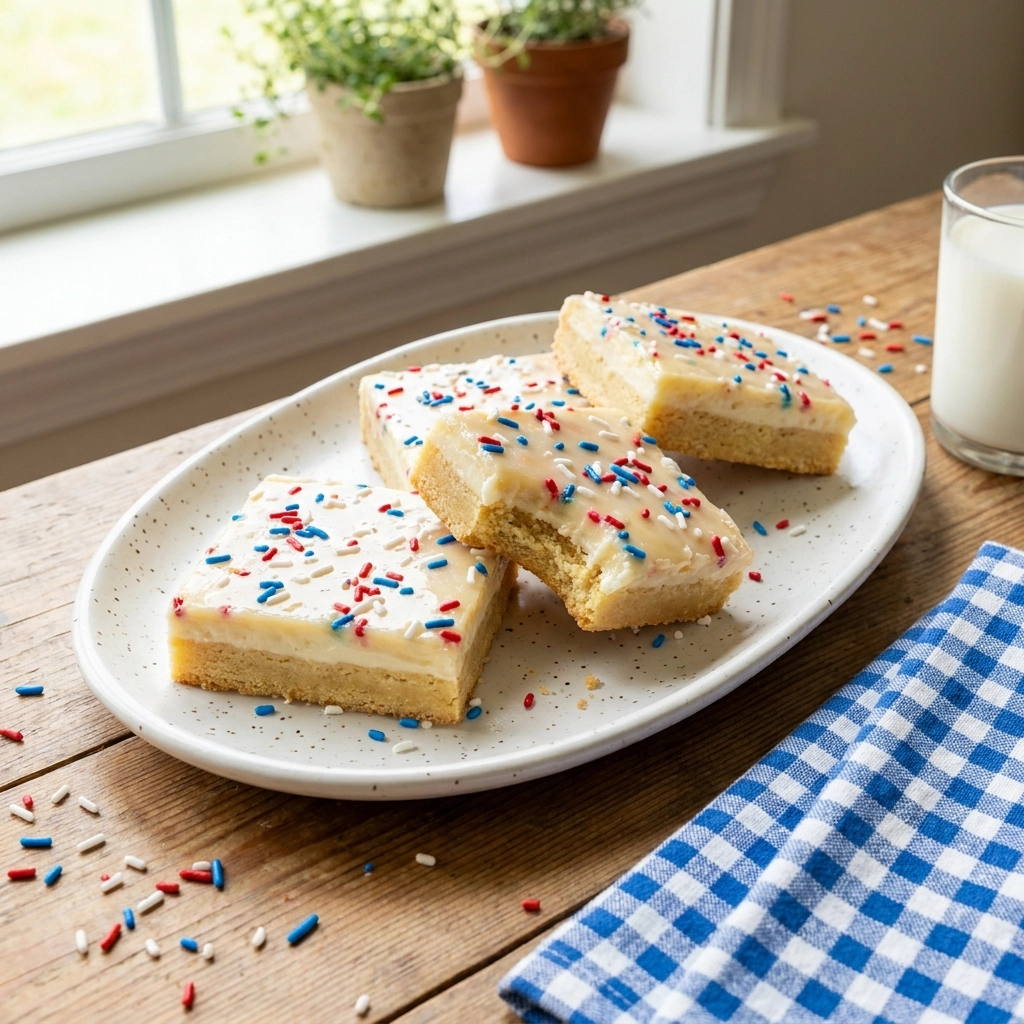
- ●Visual impact is guaranteed. The striking red, white, and blue layers create a festive centerpiece that eliminates the need for expensive store-bought decorations.
- ●Customization is built into the design. You can easily swap the candy toppings based on what your kids love most, making it a flexible family activity.
- ●Portability makes it a party favorite. Because these are baked in a single pan, you can transport them to a potluck without worrying about individual cookies breaking.
Essential Ingredients |
Unsalted Butter – I always recommend using high-quality European style butter for a richer, creamier crumb. If you skip this and use a lower-fat substitute, you’ll lose that melt-in-your-mouth texture and the bars may become too crumbly.
Granulated Sugar – C&H or Domino work perfectly here for a clean sweetness. Removing the sugar isn’t an option, as it provides the necessary structure and the caramelized edges that make these bars irresistible.
All-Purpose Flour – King Arthur is my go-to for consistency and strength. Without the flour, you simply have a puddle of melted butter and sugar instead of a sturdy, sliceable cookie bar.
Vanilla Extract – Pure Madagascar vanilla is the gold standard for a deep, aromatic flavor. If you omit this, the bars will taste flat and overly ‘floury’ without that signature warm undertone.
Red and Blue Food Coloring – I prefer the gel variety because they provide intense color without thinning the batter. Skipping these means you’ll have delicious white bars, but you’ll lose the patriotic theme entirely.
Festive Sprinkles and M&Ms – I love the variety packs from Wilton for a pop of color. While optional, skipping these removes the playful, celebratory texture that defines a holiday treat.
 Let’s Make it Together |
- To ensure your ingredients incorporate smoothly without lumps, cream together the softened butter and sugar in a large bowl until the mixture is light and fluffy.
- To prevent the batter from becoming too thin, whisk in the vanilla extract and egg one at a time, ensuring each is fully absorbed before adding the next.
- To create a sturdy base that doesn’t spread too much, gradually fold in the flour and a pinch of salt until a soft dough forms.
- To achieve the patriotic look, divide your dough into three equal portions and stir red coloring into one part, blue into another, and leave the third plain.
- To create a beautiful marbled effect, dollop the three colors into a greased 9×13 pan and gently swirl them with a knife—don’t overmix or the colors will turn brown!
- To add the final celebration touch, press your red, white, and blue M&Ms and sprinkles into the top of the dough before sliding the pan into the oven.
- To avoid over-baking, bake at 350°F for 20-25 minutes until the edges are golden but the center still looks slightly soft.
You’ll notice that the dough is quite thick, which is exactly how it should be for a chewy bar.
Trust your nose here; the bars are done when they smell like toasted sugar and vanilla.
Your pan should be thoroughly greased with butter or lined with parchment to ensure a clean release.
Avoid over-mixing the colors or you will end up with a greyish-purple hue instead of distinct stripes.
Let the bars cool completely in the pan before slicing to prevent them from falling apart.
Perfecting the Cooking Process |
Temperature control is the secret to that professional bakery finish. Make sure your oven is fully preheated and avoid opening the door frequently, as this allows the heat to escape and can lead to an uneven rise in the center of the bars.
Timing is everything when it comes to the ‘doneness’ of a cookie bar. Start checking them at the 20-minute mark; you want the edges to be just barely browned while the middle still has a slight jiggle, which ensures a fudgy, chewy consistency rather than a dry, cake-like one.
Add Your Touch |
You might find that adding a handful of white chocolate chips to the white section of the dough adds a lovely creamy dimension. If you prefer a salty-sweet contrast, try sprinkling a bit of flaky sea salt over the top immediately after taking them out of the oven.
For those who love a different flavor profile, you can substitute the vanilla extract with almond extract for a more sophisticated, cherry-like taste. You could also fold in some dried cranberries or blueberries for bursts of real fruit flavor throughout the bars.
Storing & Reheating |
Keep these bars in an airtight container at room temperature for up to four days to maintain their softness. If you live in a particularly humid climate, storing them in the refrigerator can help them keep their shape, though you may need to let them soften for a few minutes before eating.
To bring back that fresh-from-the-oven warmth, pop a square in the microwave for about 10 seconds. This slightly melts the chocolate and softens the butter, making the bar taste like it was just baked this morning.
1Use a room-temperature egg to prevent the butter from curdling during the mixing process.
2Measure your flour into the cup and leveling it off to avoid over-packing.
3Use gel colors instead of liquid drops to keep your batter thick and stable.
4Press the dough firmly into the corners of the pan for consistent baking across the board.
5Chill the sliced bars for 30 minutes before serving for the cleanest, most professional cuts.
FAQ |
- ●Q: Can I use a different pan size?A: Yes, you can use an 8×8 inch pan, but you will need to increase the baking time by about 5 to 10 minutes. Because the batter will be thicker in a smaller pan, the center takes longer to set, so keep a close eye on the edges to ensure they don’t over-brown.
- ●Q: How do I get the colors to stay vibrant?A: The trick is to use high-quality gel food coloring and avoid over-mixing the different colored sections. If you stir the red and blue together too much, they will neutralize each other and create a muddy purple color rather than the distinct patriotic stripes you are aiming for.
- ●Q: Can these be made gluten-free?A: Absolutely! You can substitute the all-purpose flour with a high-quality 1:1 gluten-free baking blend. Just make sure your blend contains xanthan gum to provide the structure that gluten normally offers, otherwise, your bars might be too fragile to slice and serve.
- ●Q: My bars came out too soft, what happened?A: This usually happens if the bars are sliced while they are still hot. The internal structure of the cookie needs time to set as it cools. If you wait until the pan is completely cool to the touch, you’ll find the bars are much firmer and hold their shape perfectly.
Celebrate with Delicious Fourth of July Cookie Bars
- Prep Time: 20 minutes
- Cook Time: 25 minutes
- Total Time: 45 minutes
- Yield: 12-16 bars 1x
- Category: Dessert
- Method: Baking
- Cuisine: American
Description
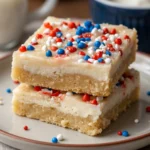
A festive, chewy, and colorful dessert perfect for July 4th celebrations. These buttery bars feature patriotic swirls and candy toppings.
Ingredients
- 1 cup unsalted butter, softened
- 1 cup granulated sugar
- 1 large egg
- 1 tsp vanilla extract
- 2 1/4 cups all-purpose flour
- 1/2 tsp baking soda
- 1/4 tsp salt
- Red and Blue gel food coloring
- 1/2 cup red, white, and blue M&Ms
- 1/4 cup patriotic sprinkles
Instructions
- Preheat oven to 350°F and grease a 9×13 inch baking pan.
- Cream butter and sugar together until light and fluffy.
- Beat in the egg and vanilla extract.
- Stir in flour, baking soda, and salt until combined.
- Divide dough into three bowls; color one red and one blue, leave one white.
- Dollop colors into the pan and swirl gently with a knife.
- Top with M&Ms and sprinkles.
- Bake for 20-25 minutes until edges are golden.
- Cool completely before slicing into bars.