
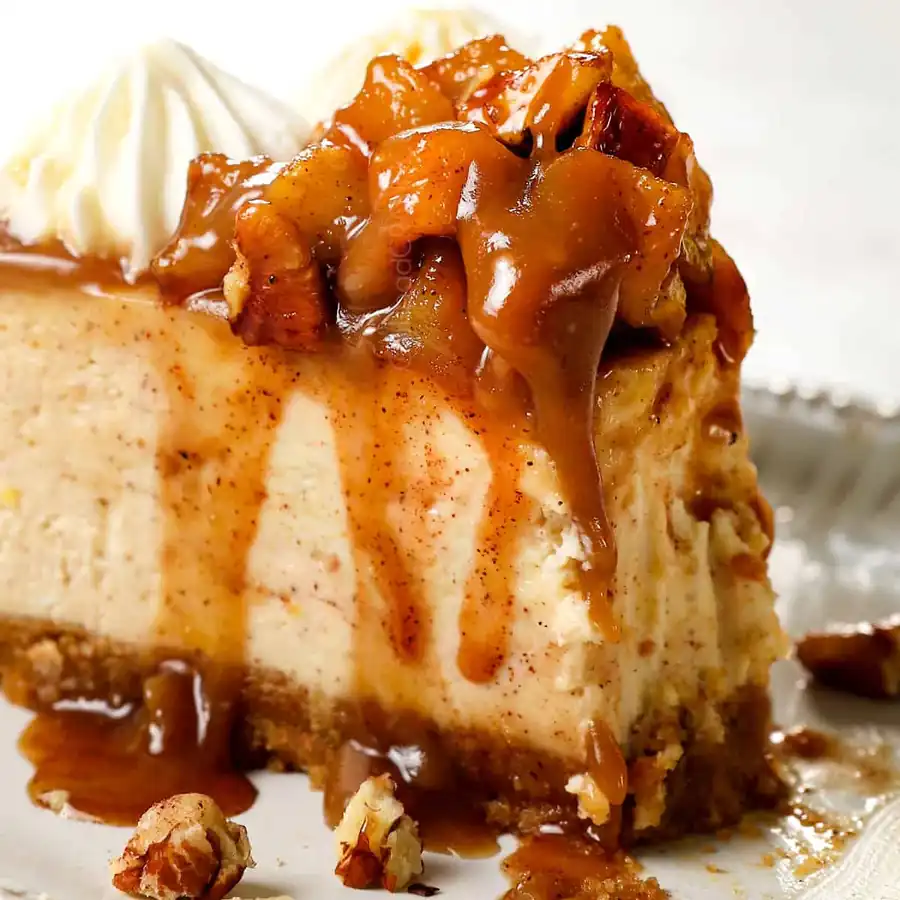
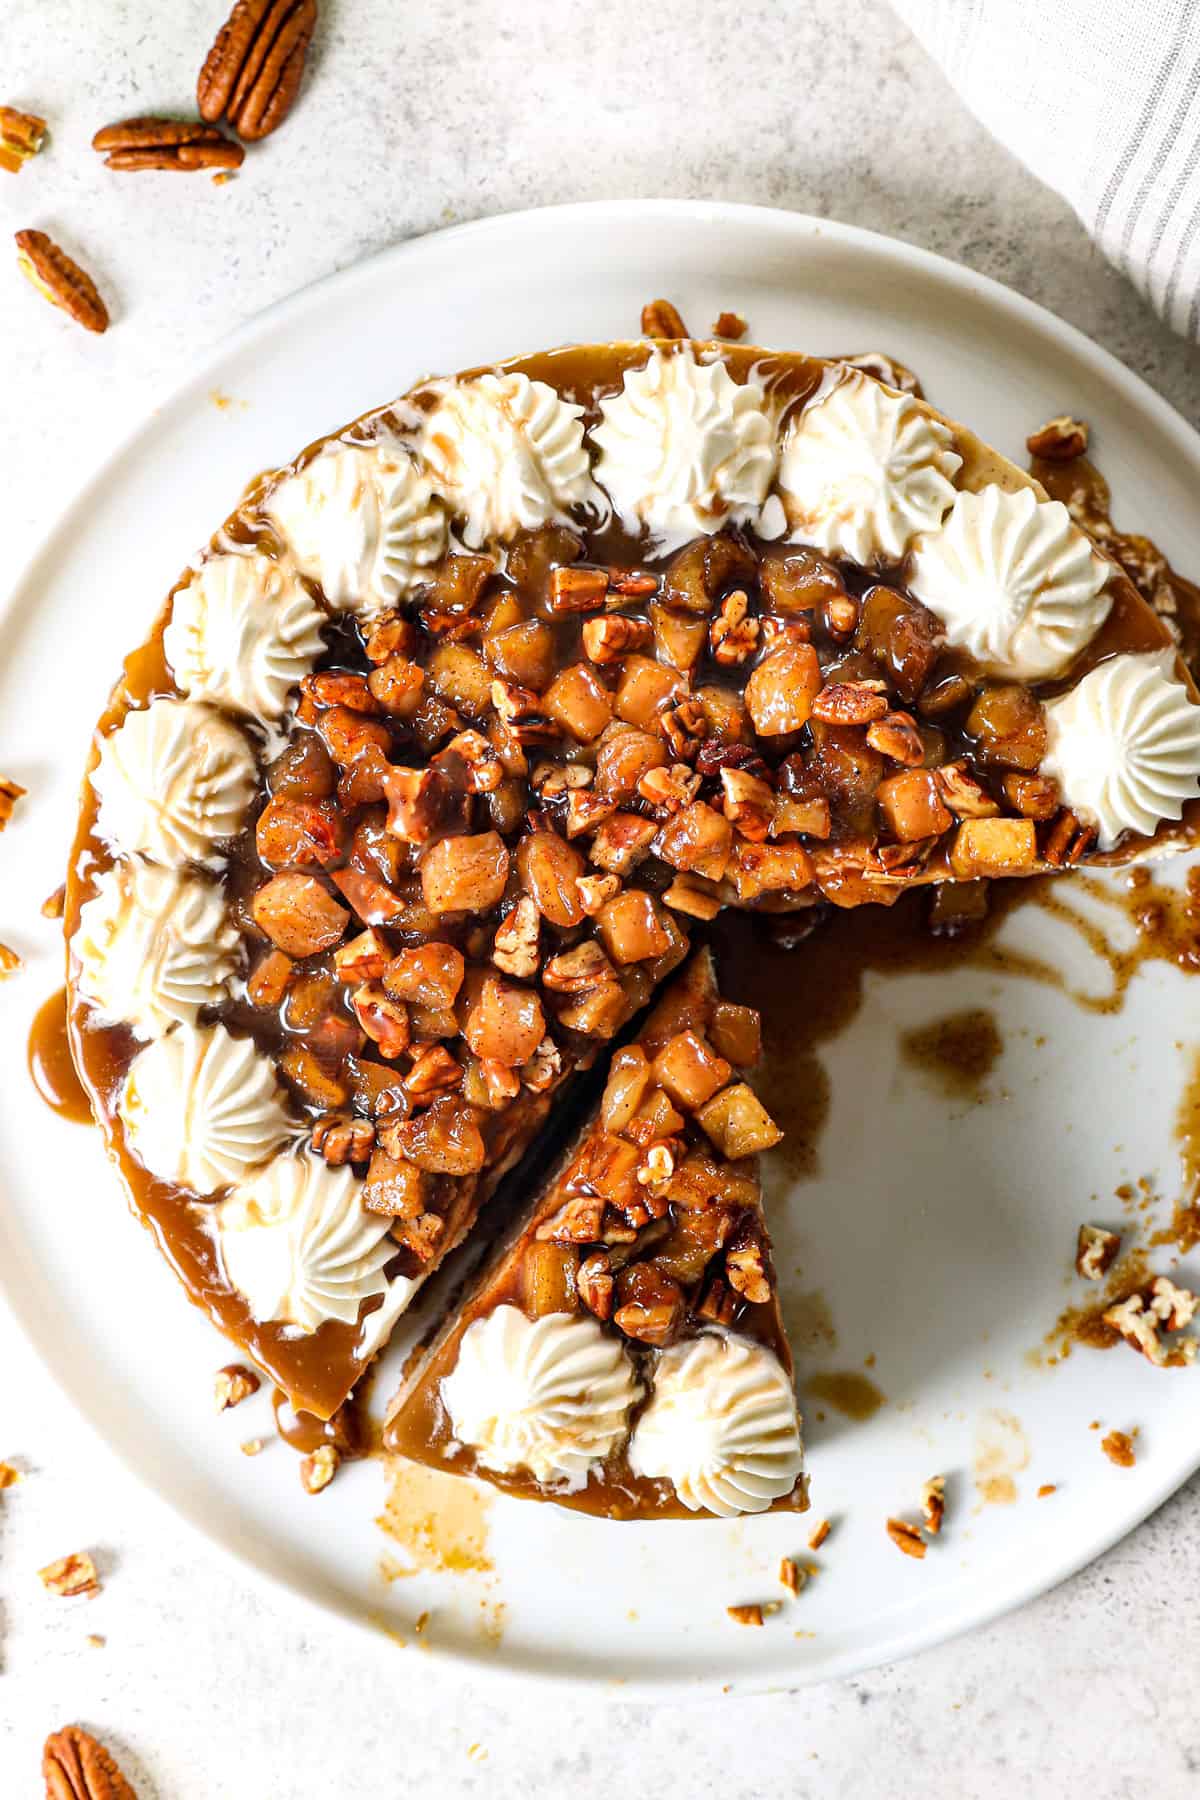
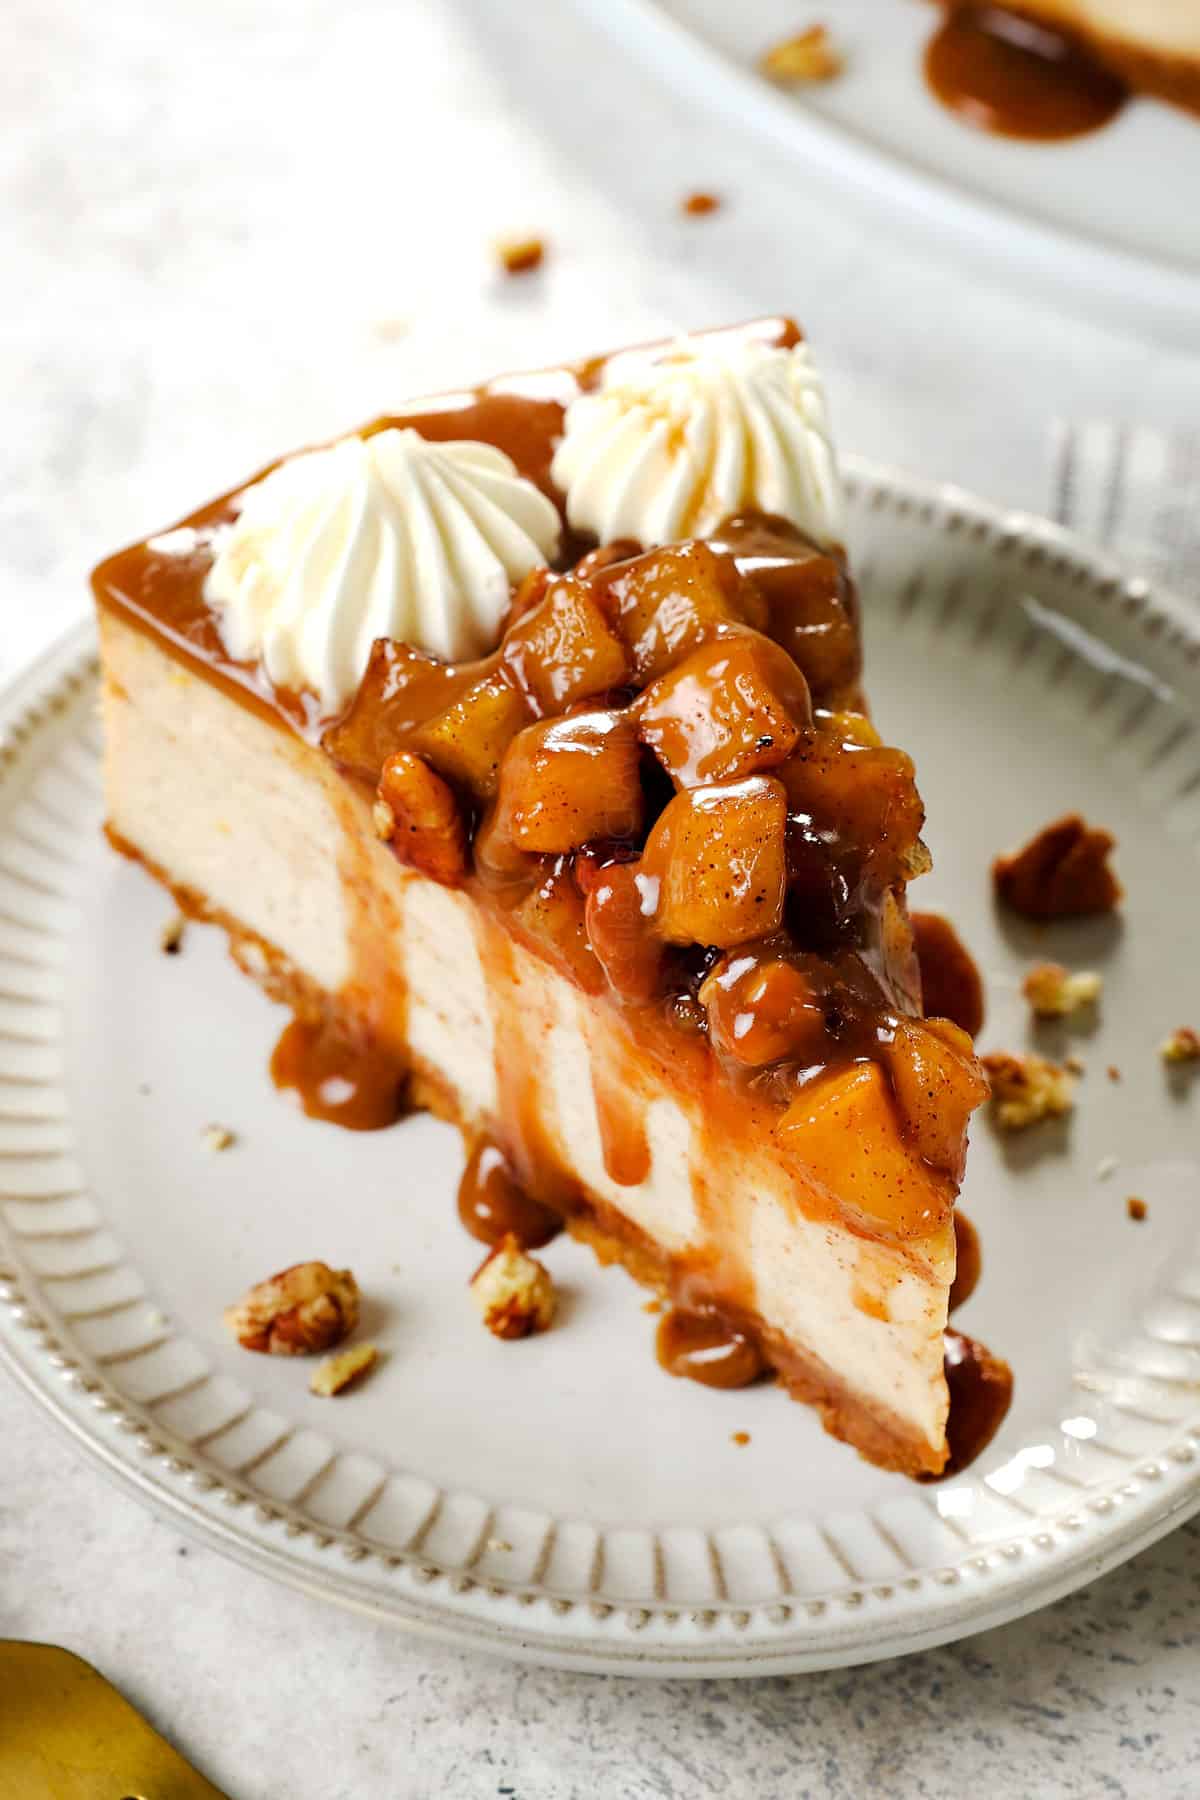
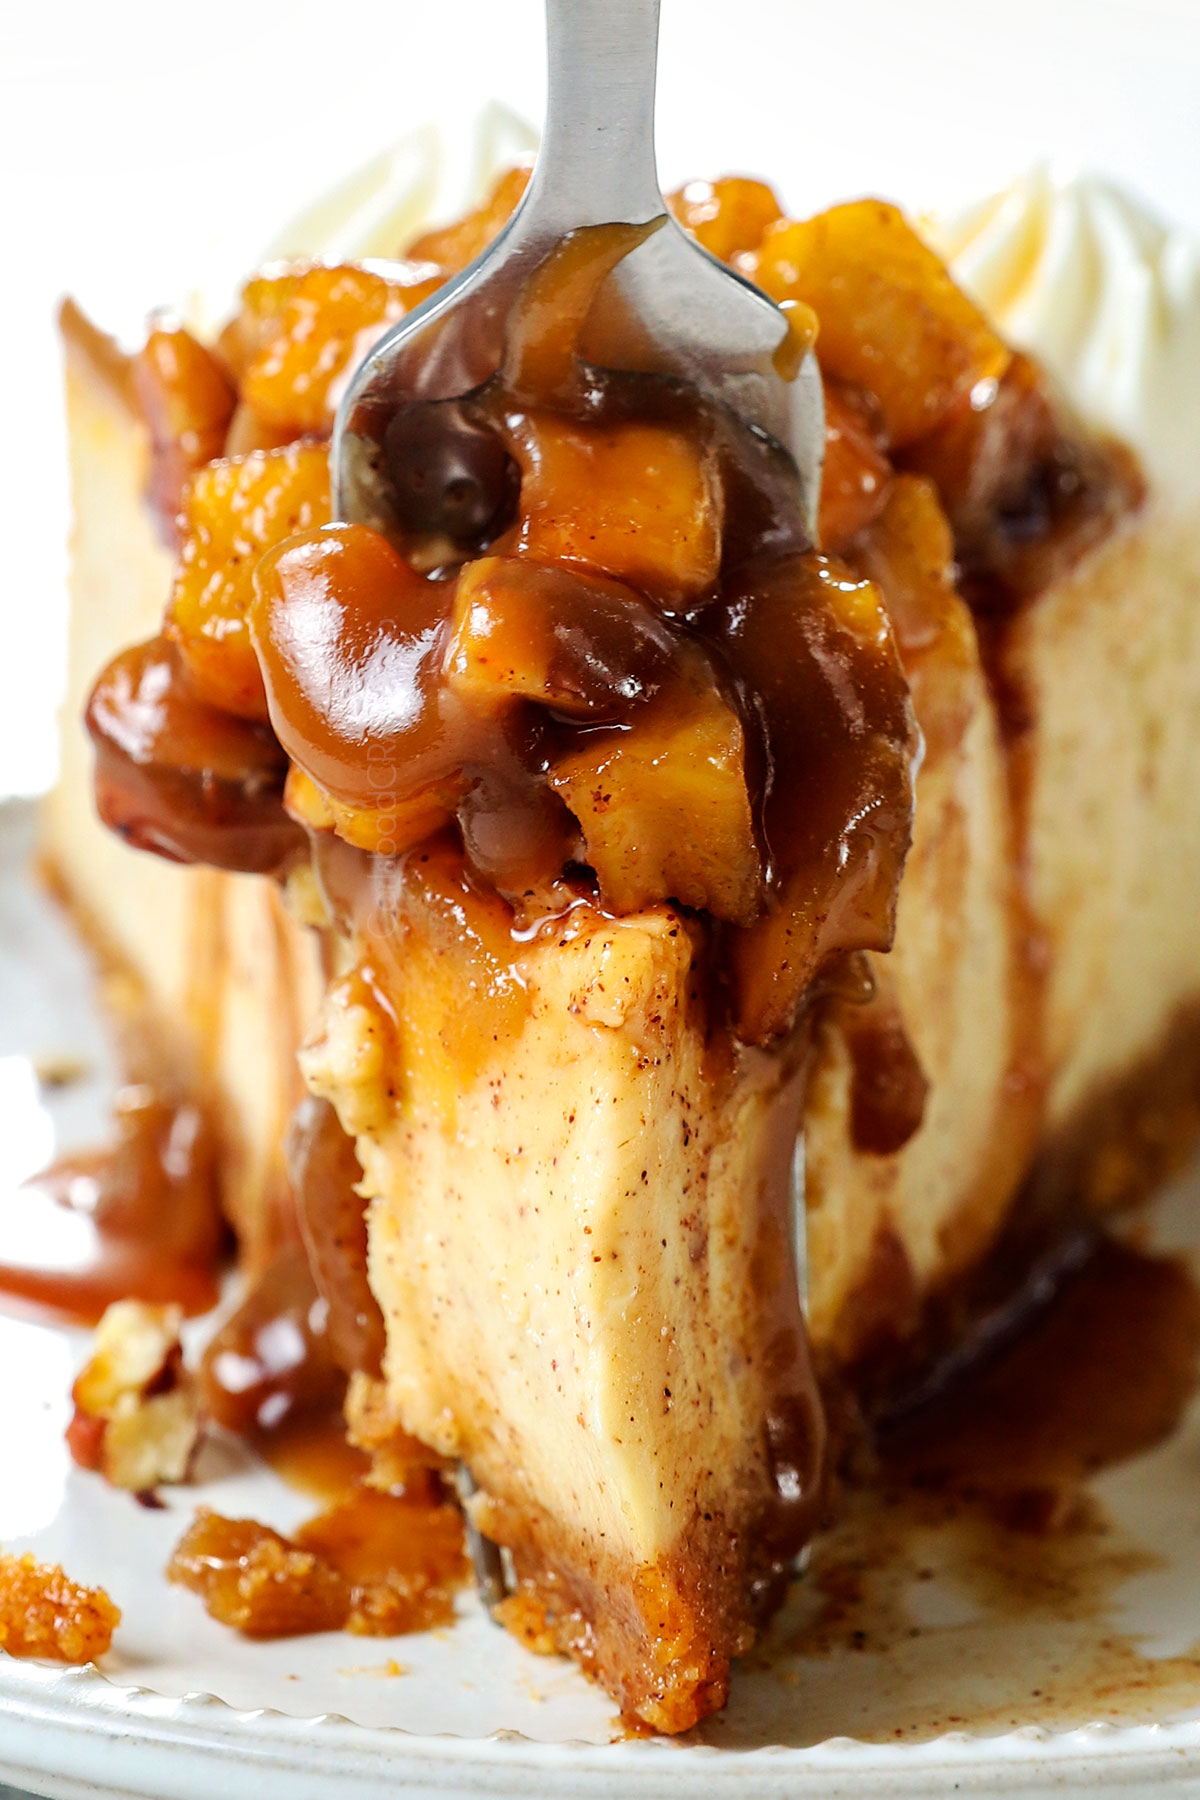
Caramel Apple Cheesecake is the best of creamy cheesecake and apple pie baked into one celebratory fall dessert!
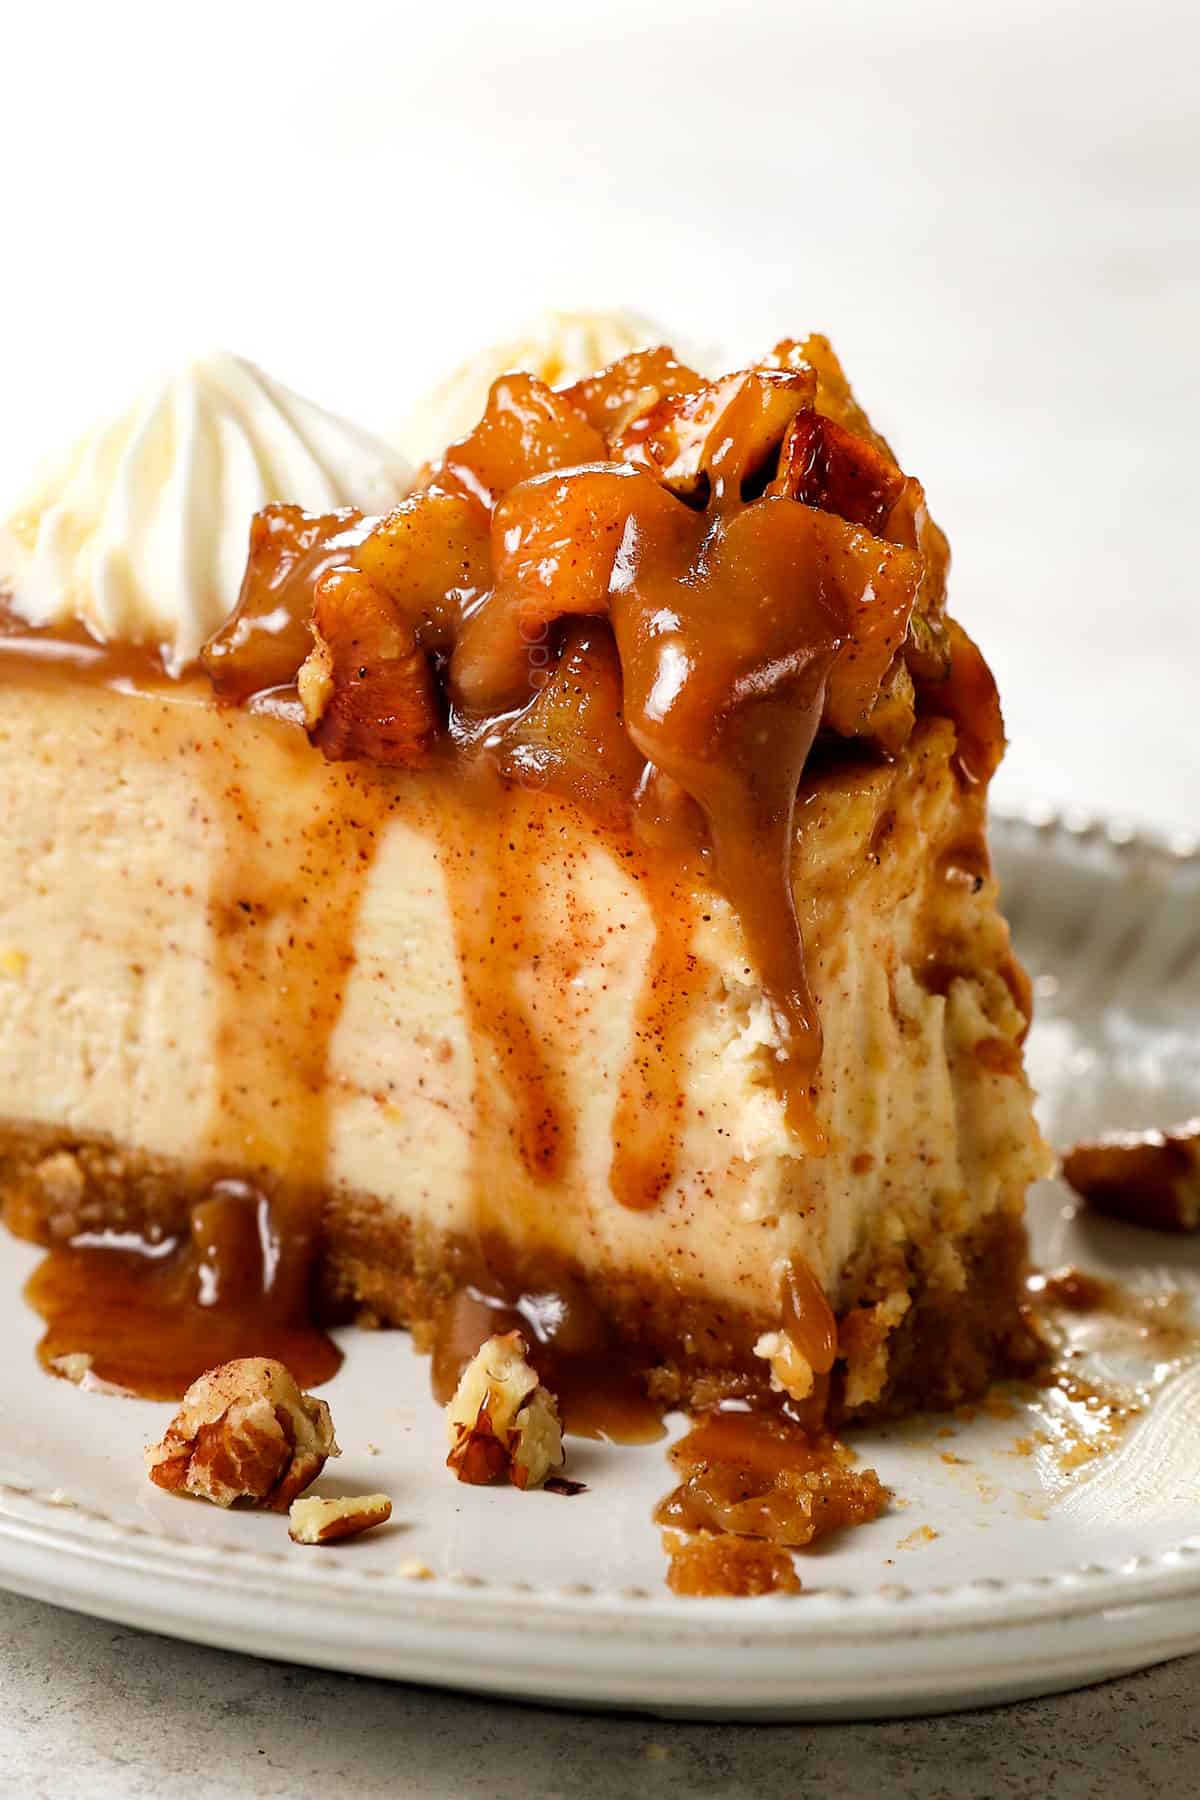
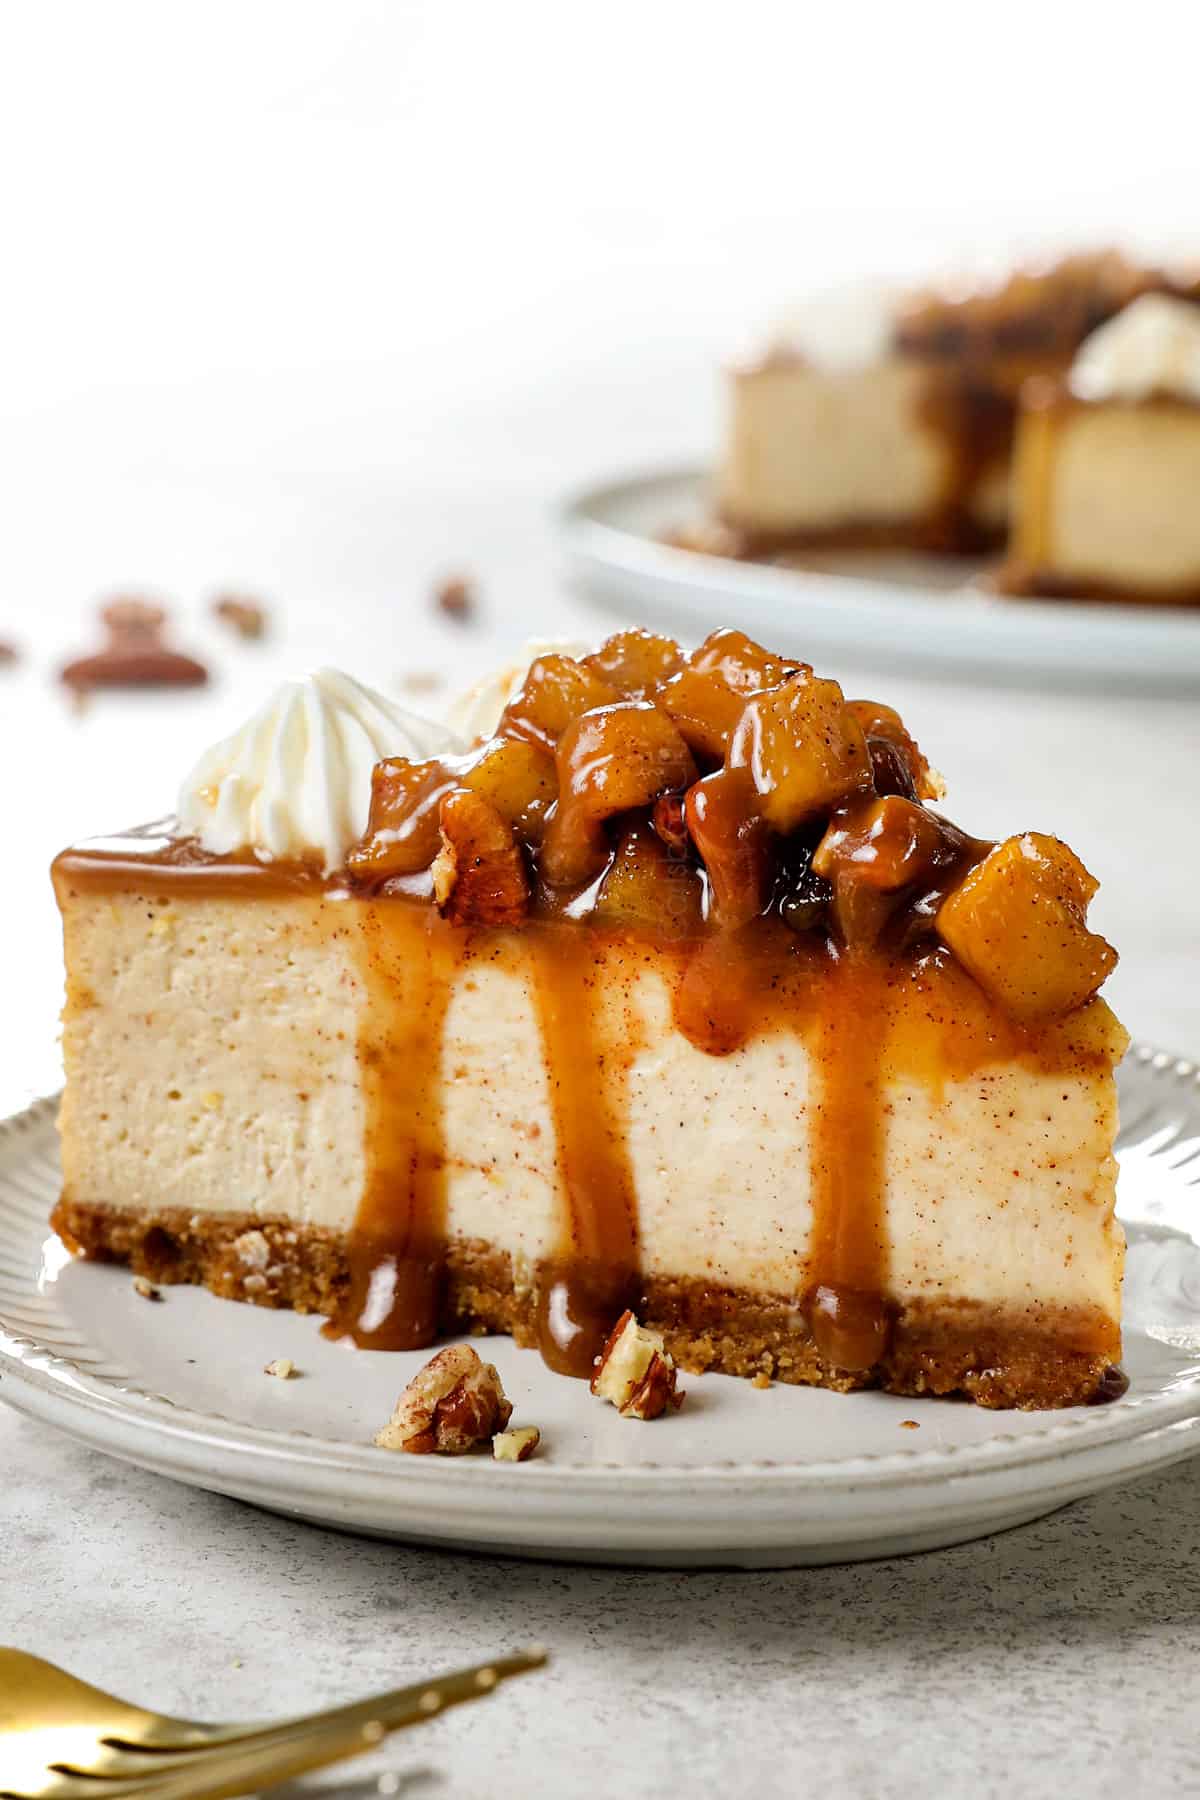
This Caramel Apple Cheesecake is a showstopping dessert for Thanksgiving, Christmas, and every fall occasion in between! The lusciously creamy cheesecake is infused with cozy fall spices, topped with warm, brown sugar, cinnamon-spiced apples, then generously drizzled with silky caramel sauce all nestled in a buttery Graham cracker crust – need I say more? I’ve included detailed instructions on how to make Apple Cheesecake so it will be a runaway success even if you’ve never made cheesecake before. This recipe requires a few steps, but is mostly an assemble and wait dessert – and it’s so much easier than you think!
This apple cheesecake is easy to make!
Did you know that cheesecake is actually easy to make? It is not a quick dessert, but it doesn’t require any special skills. In fact, the actual cheesecake filling can be beaten together in less than 10 minutes! Most of the “work” is hands-off waiting while the cheesecake bakes and cools, so just make sure to plan for enough time.
In this post, I’ll walk you through each step with process photos and a video tutorial and strive to answer all your questions so you can make Apple Cheesecake like a pro!
Apple Cheesecake Recipe Ingredients
This homemade Apple Cheesecake recipe can be broken down into three layers: 1) the graham cracker crust, 2) the creamy cheesecake filling, and 3) a caramelized spiced apple topping, which all get drizzled with caramel sauce! Let’s take a closer look at what you’ll need (measurements in the printable recipe card at the bottom of the post):
For the Graham Cracker Crust:
For the cream cheese layer
For the apple layer layer
This is an easy yet time-consuming recipe to prepare, so make sure to read through the recipe entirely before beginning. Below is an overview of the baking process with step-by-step photos (full recipe in the printable recipe card at the bottom of the post):
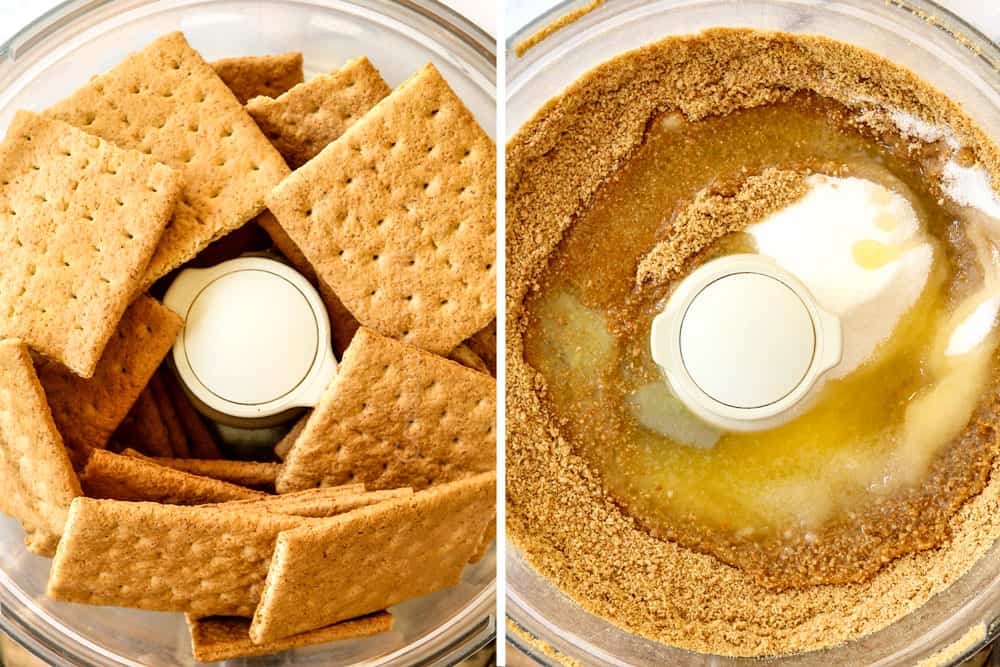
Step 2: Make and Blind Bake the Crust
- Grind Graham crackers: First, you’ll want to make crumbs the Graham crackers in your food processor or crushing in a sealable bag with a rolling pin/side of a can. You want very finely ground crumbs because they stick together better.
- Combine crumbs, sugar and butter: For the food processor, simply add the sugar and butter directly to the processor and process until the crumbs are moistened. If you don’t have a food processor, add the crumbs, butter and sugar to a bowl and stir until the crumbs are evenly moistened.
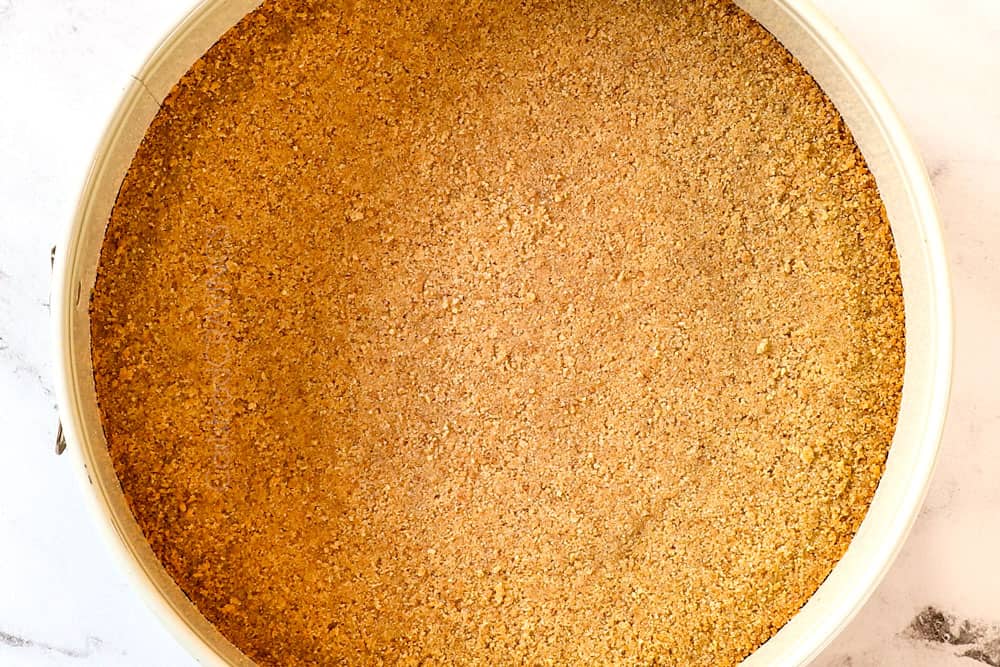
- Make the crust: Transfer the moistened crumbs to your lightly greased, parchment paper-lined springform pan and press firmly into the bottom of the pan in an even layer using a small bowl or bottom of a measuring cup. This helps the crust stay intact and not crumble when sliced. But don’t compact the crumbs too much or the crust will crack when you slice the cheesecake.
- Bake the crust: Bake the crust at 325 degrees F for 10 minutes then allow it to cool while you make the cheesecake filling. Baking the crust before adding the cheesecake allows it to seal together and cooling the crust before adding the cheesecake prevents it from becoming soggy.
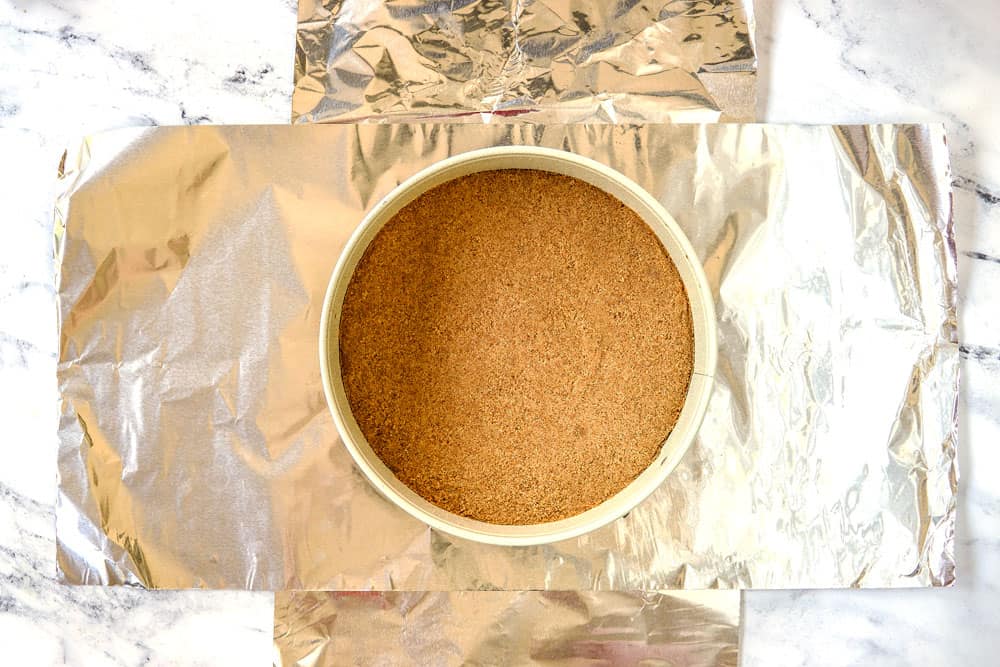
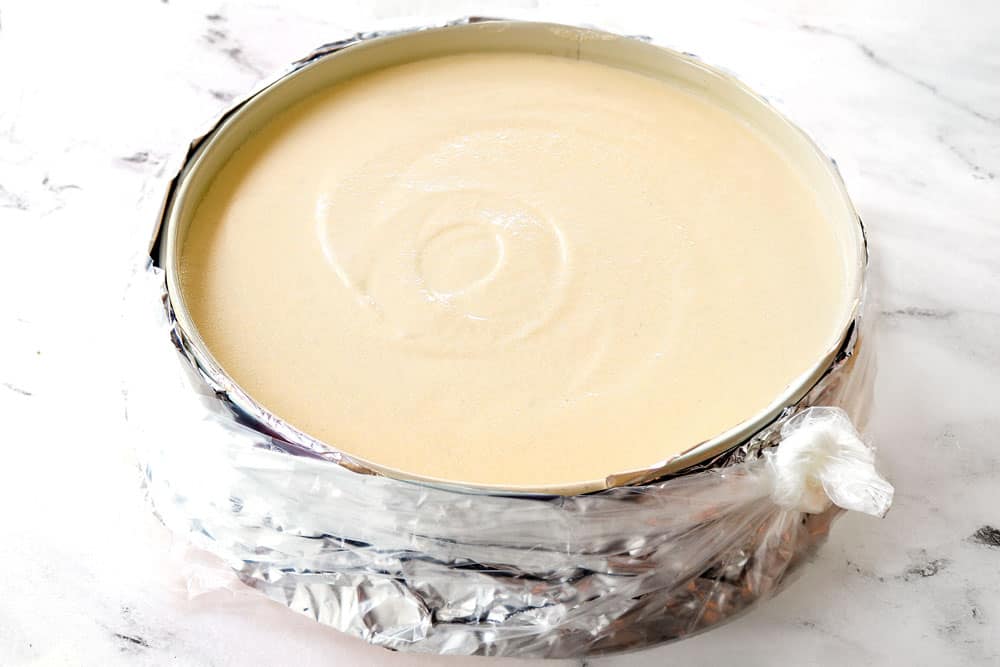
Step 3: Waterproof the Springform Pan
The springform pan needs to be waterproofed so water from the water bath doesn’t seep through the bottom of the springform pan and soak into the cheesecake. You have two options:
- Option 1: Wrap in foil: First, place two large 18×18-inch pieces of heavy duty aluminum foil on a flat surface underneath the pan in the form of a “+.” Gently fold (to make sure you don’t create any holes) up the sides of the foil around the pan. If you use a slow cooker liner (below), you can use regular foil instead of heavy duty/18-inch. This method, alone, however, is not fool proof, so I highly recommend adding a slow cooker liner or roasting bag (below).
- Option 2: Wrap with a slow cooker liner or oven roasting bag (optional but HIGHLY recommended): Next, place the foil lined springform pan in the center bottom of a slow cooker liner or large oven roasting bag. Bring the liner up to the top of the pan then gather excess to one side and tie it in a knot. If you don’t add the liner, then I suggest 2 more layers of foil around your springform pan.
Step 4: Make the Cheesecake Filling
- Beat cream cheese and sugar: Beat the cream cheese in the bowl of an electric mixer fitted with the paddle attachment for 4 minutes, then add the sugar. Beat for an additional 5 minutes — don’t try to rush this process!
- Add sour cream and lemon zest: Add the sour cream, lemon zest, spices, vanilla, and beat until blended.
- Add eggs: Add the eggs one at a time followed yolk, beating as little as possible; overbeating eggs can cause cracks and the cheesecake to deflate.
- Assemble the cheesecake: Pour the cheesecake filling onto the cooled crust. Drop the pan on the counter a few times to remove excess air bubbles.

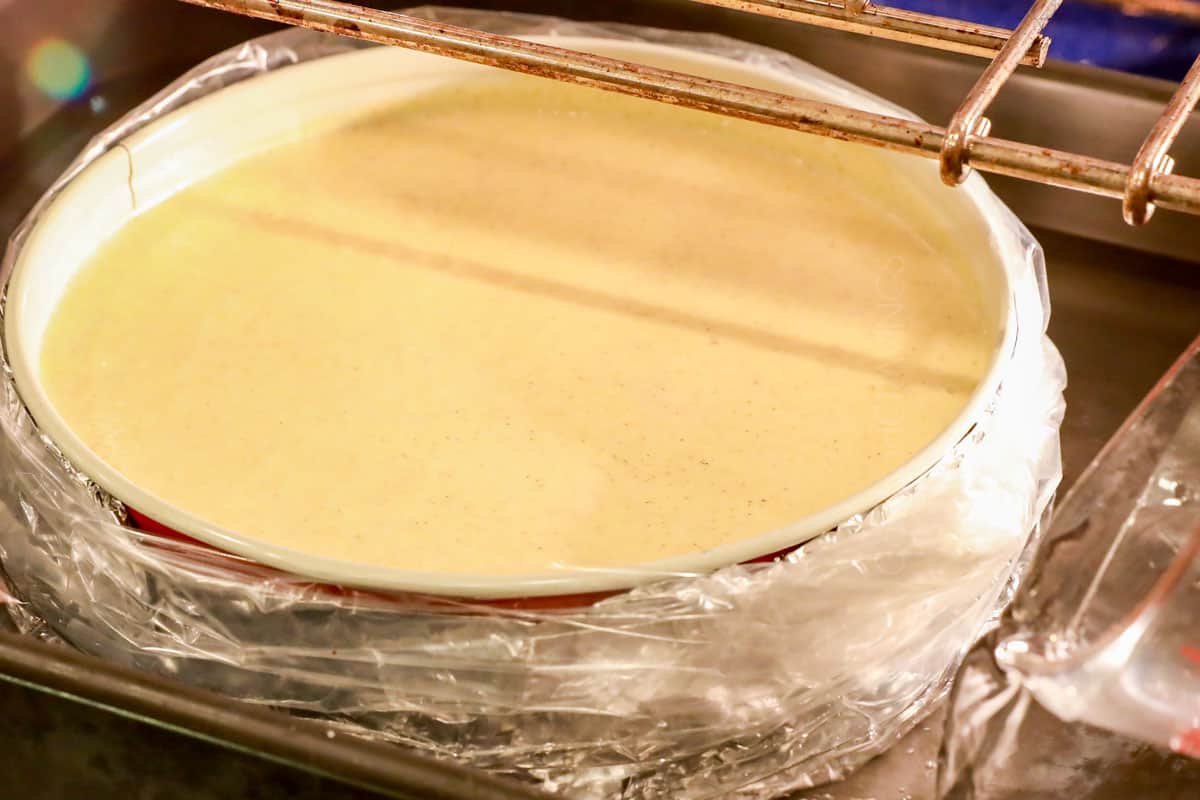
Step 5: Assemble the Water Bath
- Add cheesecake to a roasting pan: Place the waterproofed cheesecake in a roasting pan, then place the roasting pan in the oven. I like to place the roasting pan in the oven before adding the water bath or else the pan can become heavy and the water can slosh around and threaten to get in your cheesecake while you transfer it.
- Make a water bath: To add the water, use a glass liquid measuring cup or pitcher (something with a spout) to carefully pour in enough boiling water around the cheesecake until it reaches halfway up the side of the springform pan. Make sure to add the water slowly to the corner of the pan so none of it gets on your cheesecake.
Step 6: Bake the Cheesecake
- Bake: Bake the cheesecake at 325ºF until the edges are firm and the center 2-3 inches of the cheesecake is still wobbly.
Step 7: Chill the Cheesecake
- Cool cheesecake in the oven: Turn off your oven and crack open the oven door. Allow the cheesecake to cool in the oven for 60 minutes.
- Cool cheesecake on the counter: Remove the cheesecake from the oven and the water bath and place it on a cooling rack on the counter.
- Cool cheesecake completely: Continue to cool the cheesecake for 2-3 hours on the counter or until the cheesecake is completely cooled.
- Refrigerate overnight: Cover the cheesecake with foil or transfer to a cake caddy with a lid and chill in the refrigerator overnight, but best if 24 hours.
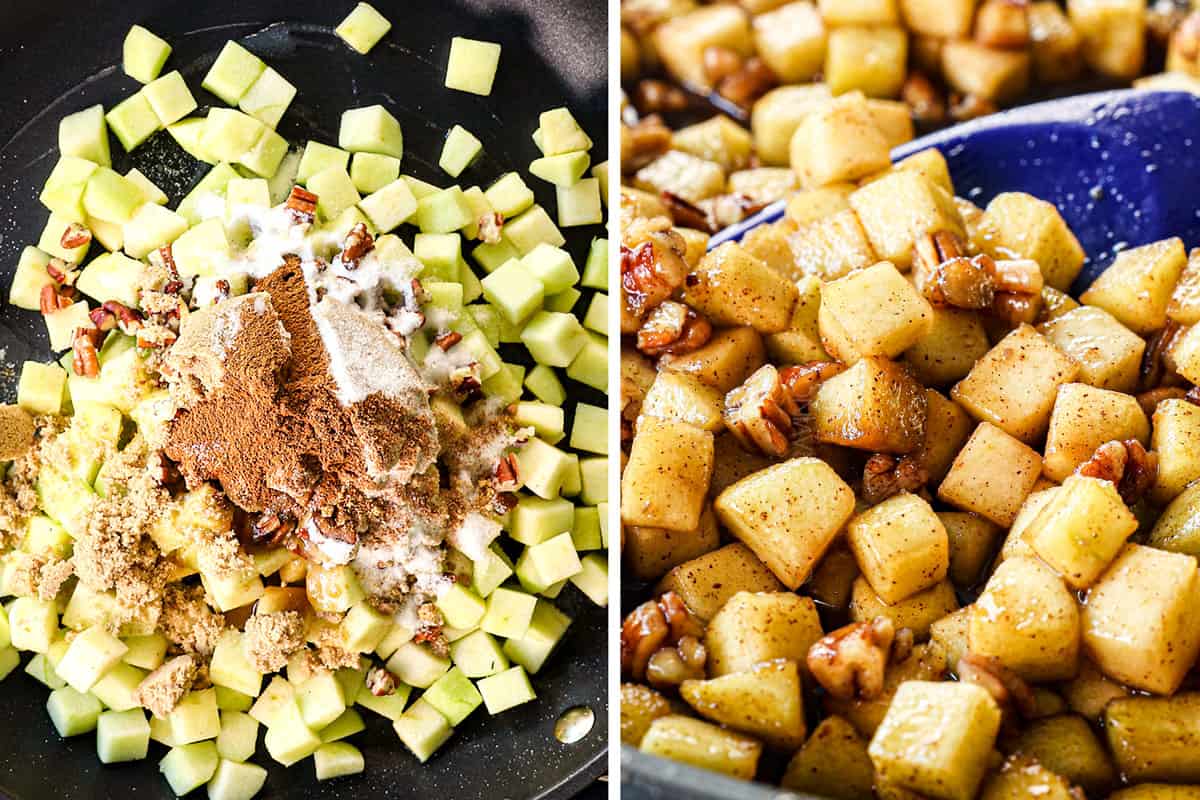
Step 8: Make the Apple Topping
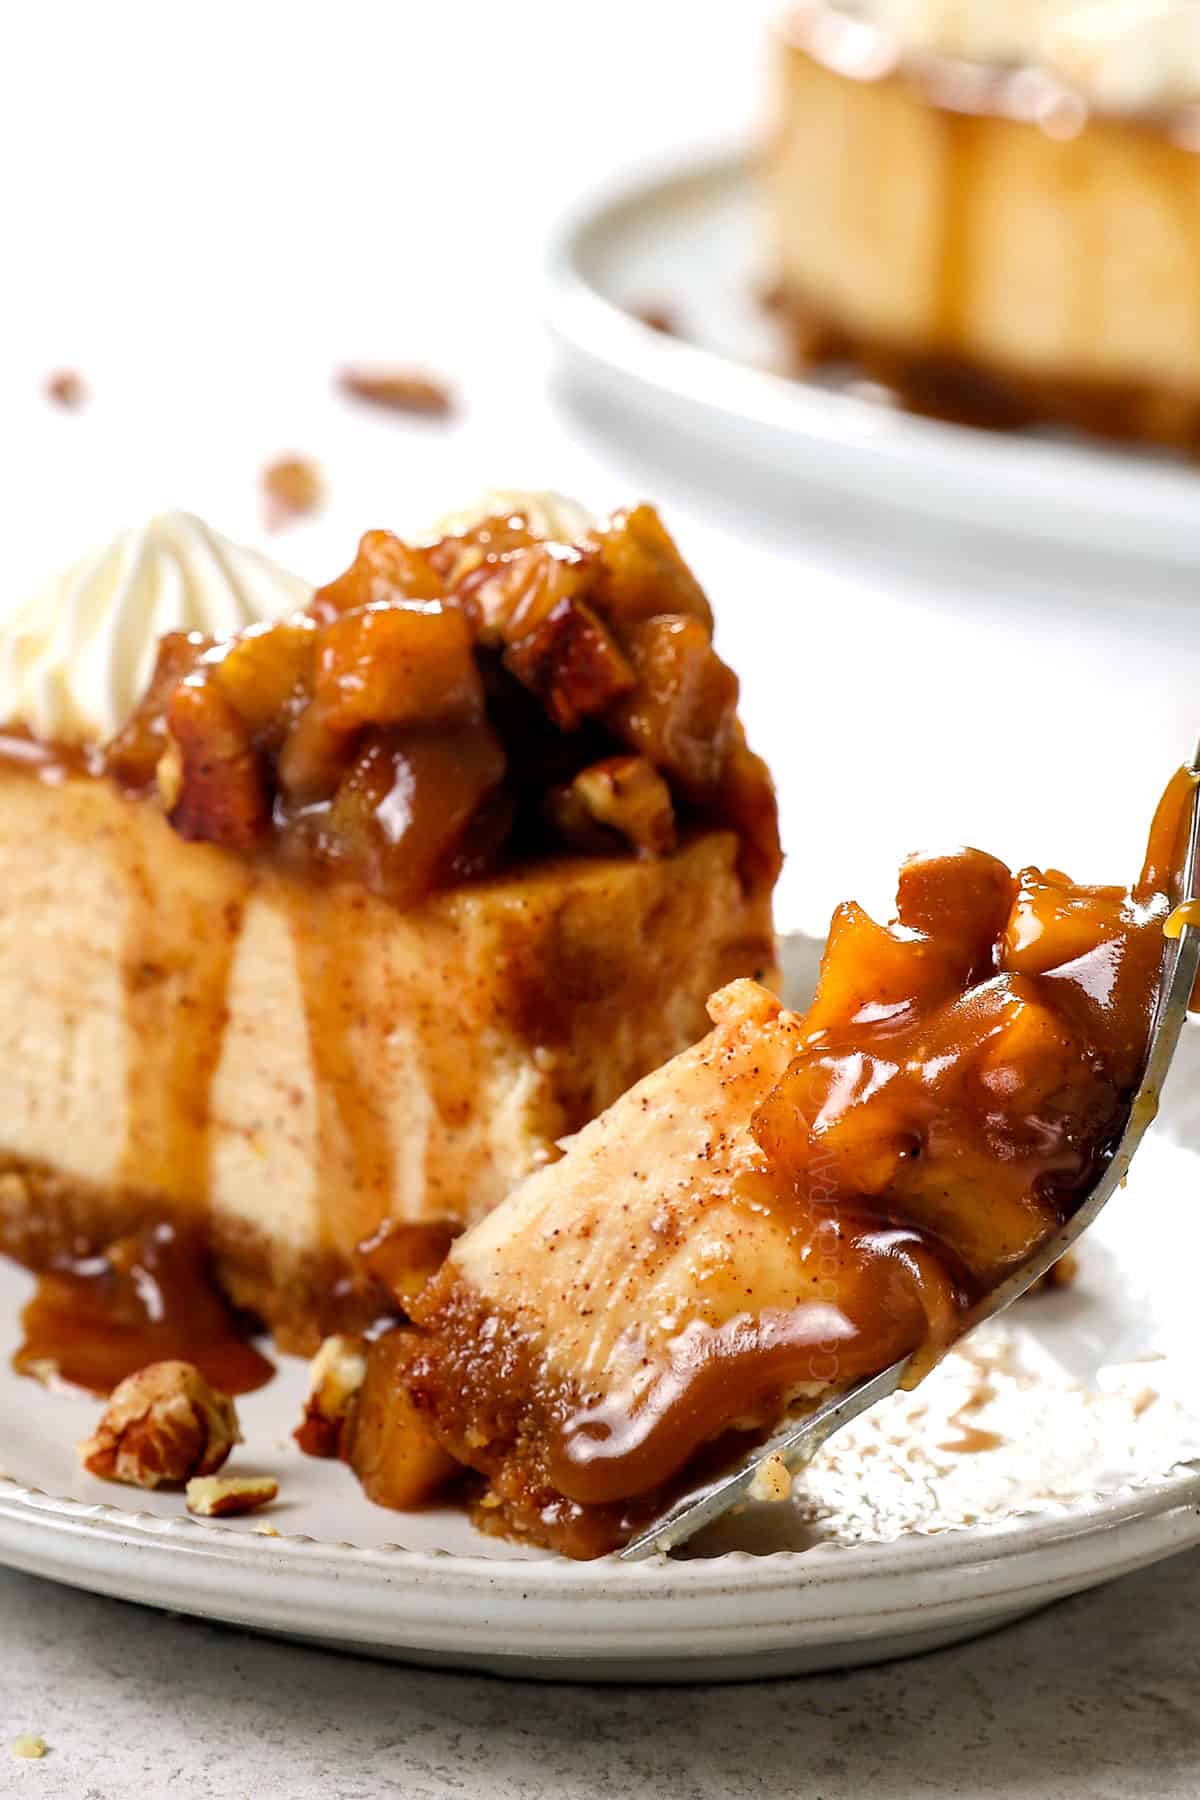
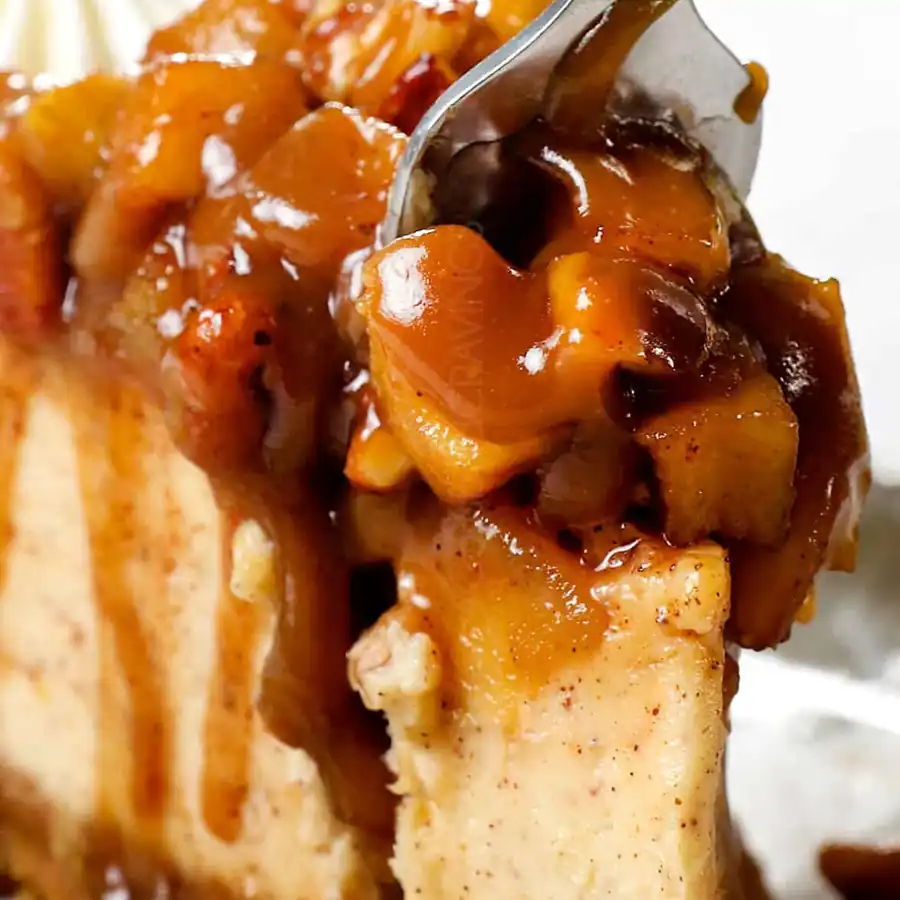
The apple topping is very best warm over the cooled cheesecake. It can be partially made ahead of time, then warmed, or make it right before serving.
- Combine the ingredients. Whisk the cornstarch with the lemon juice; set aside. Melt butter in a medium saucepan over medium heat. Add all the apple filling ingredients.
- Sauté the apples. Cook the apples for and cook for 5 minutes, stirring constantly. Reduce heat to low and cook until the apples are tender, another couple minutes. Remove from heat and stir in the vanilla extract.
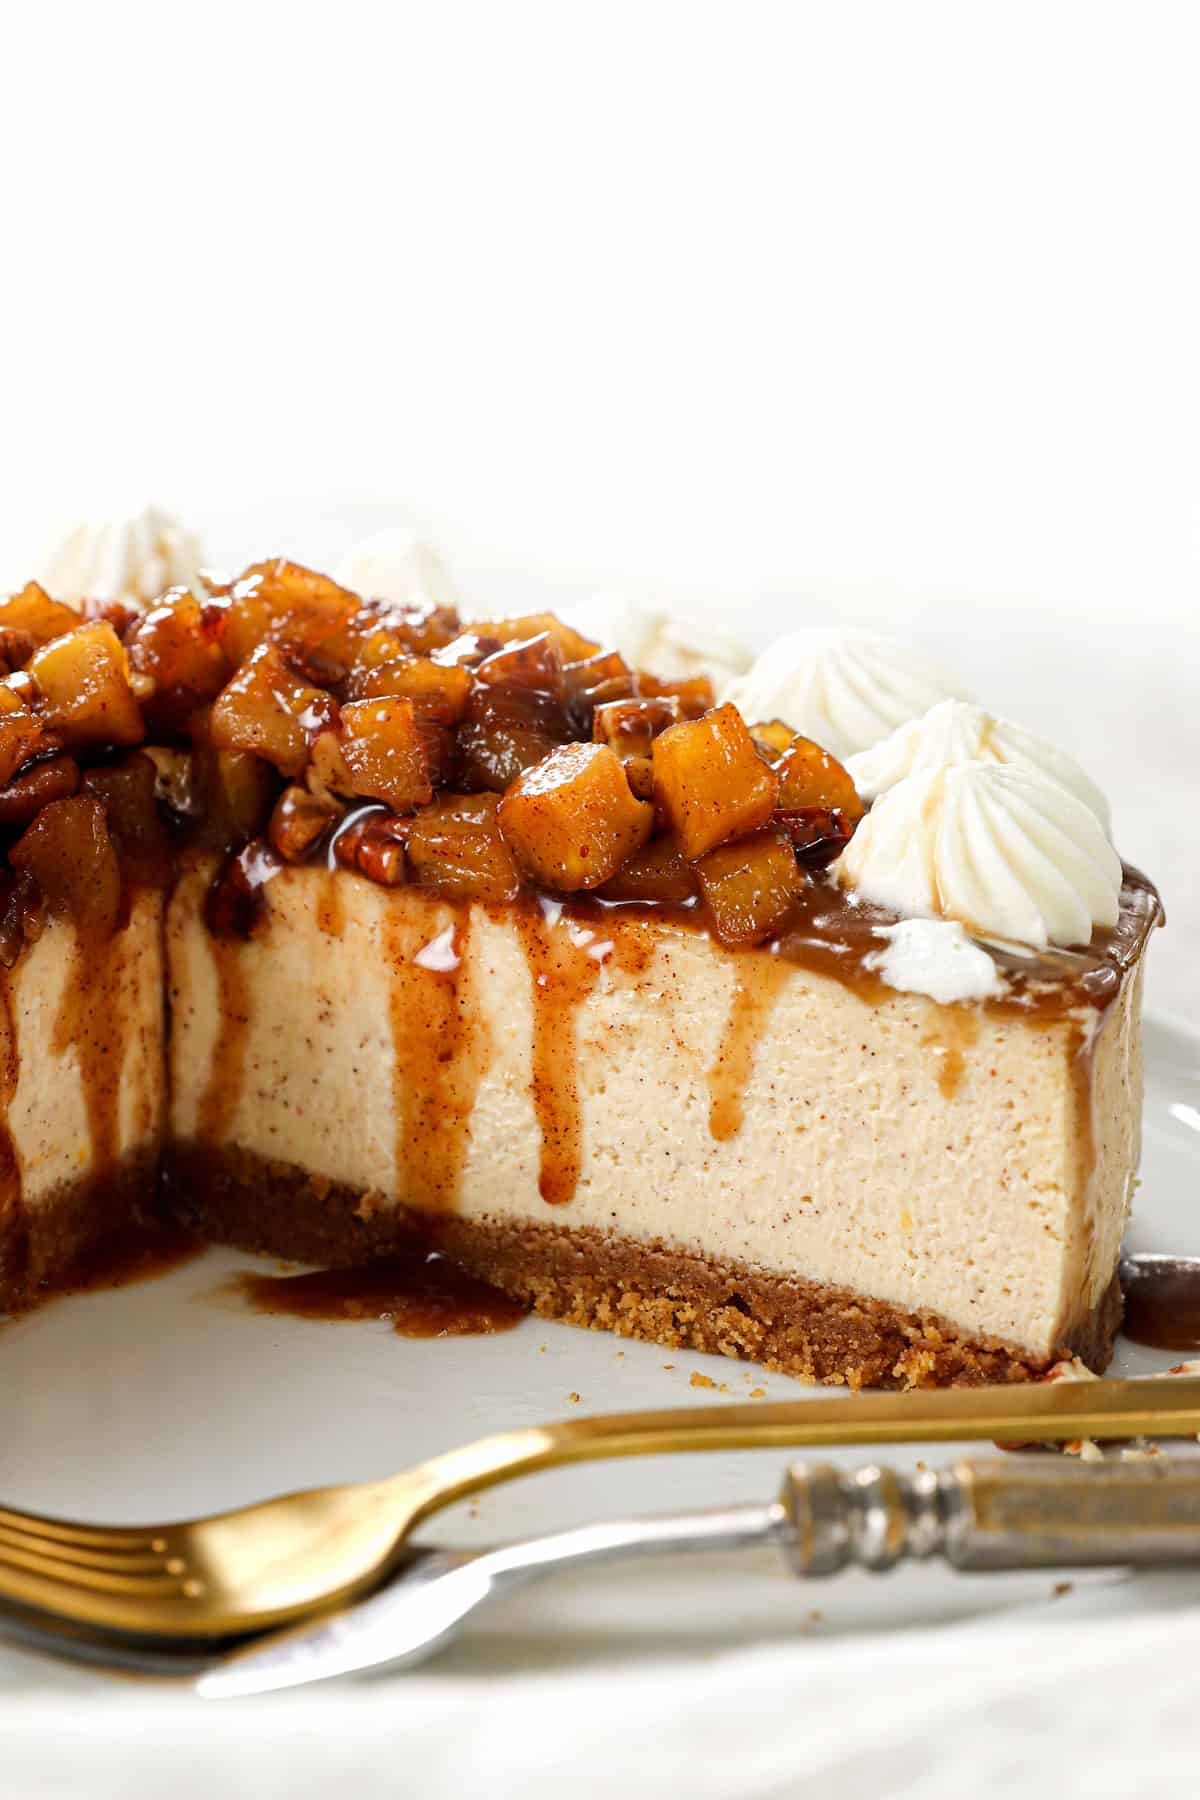
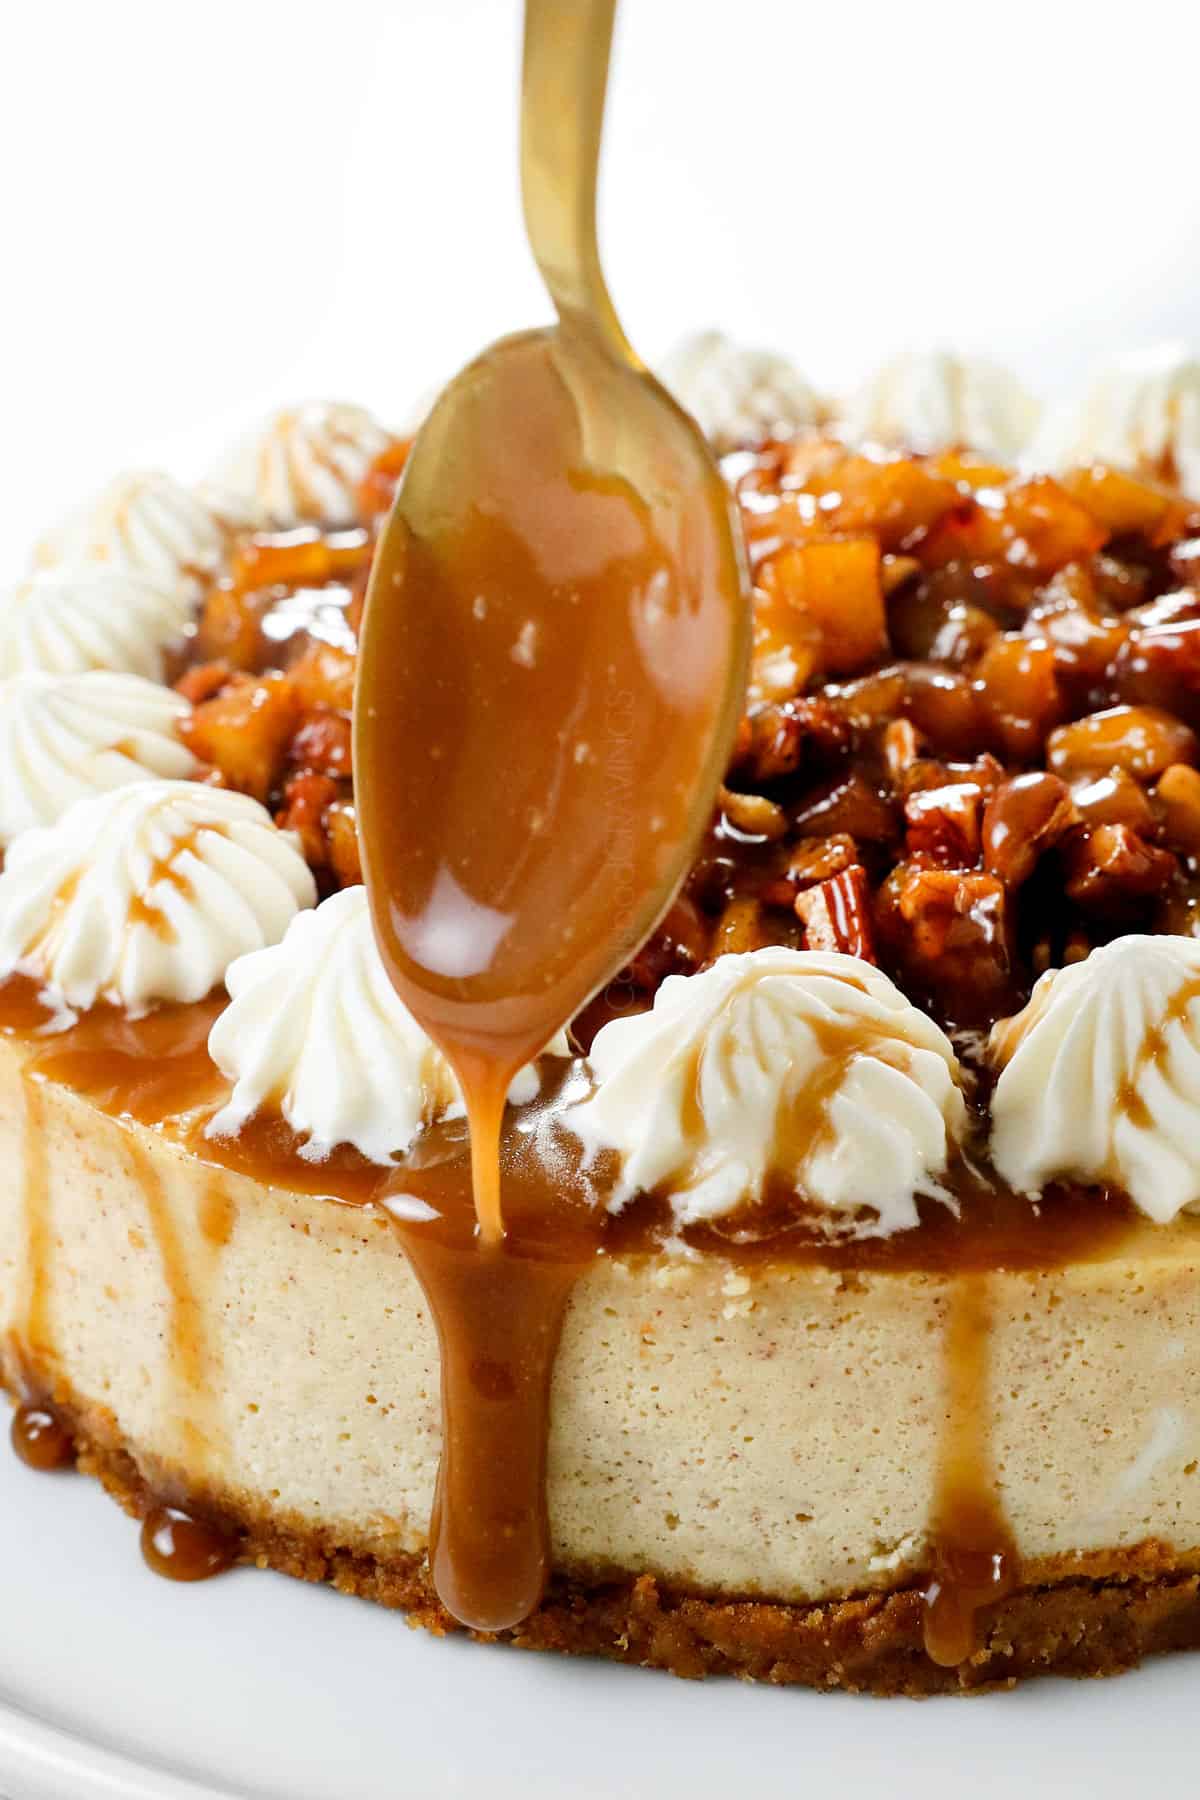
- Add to cheesecake: Gently spoon the diced apple mixture over the cheesecake filling.
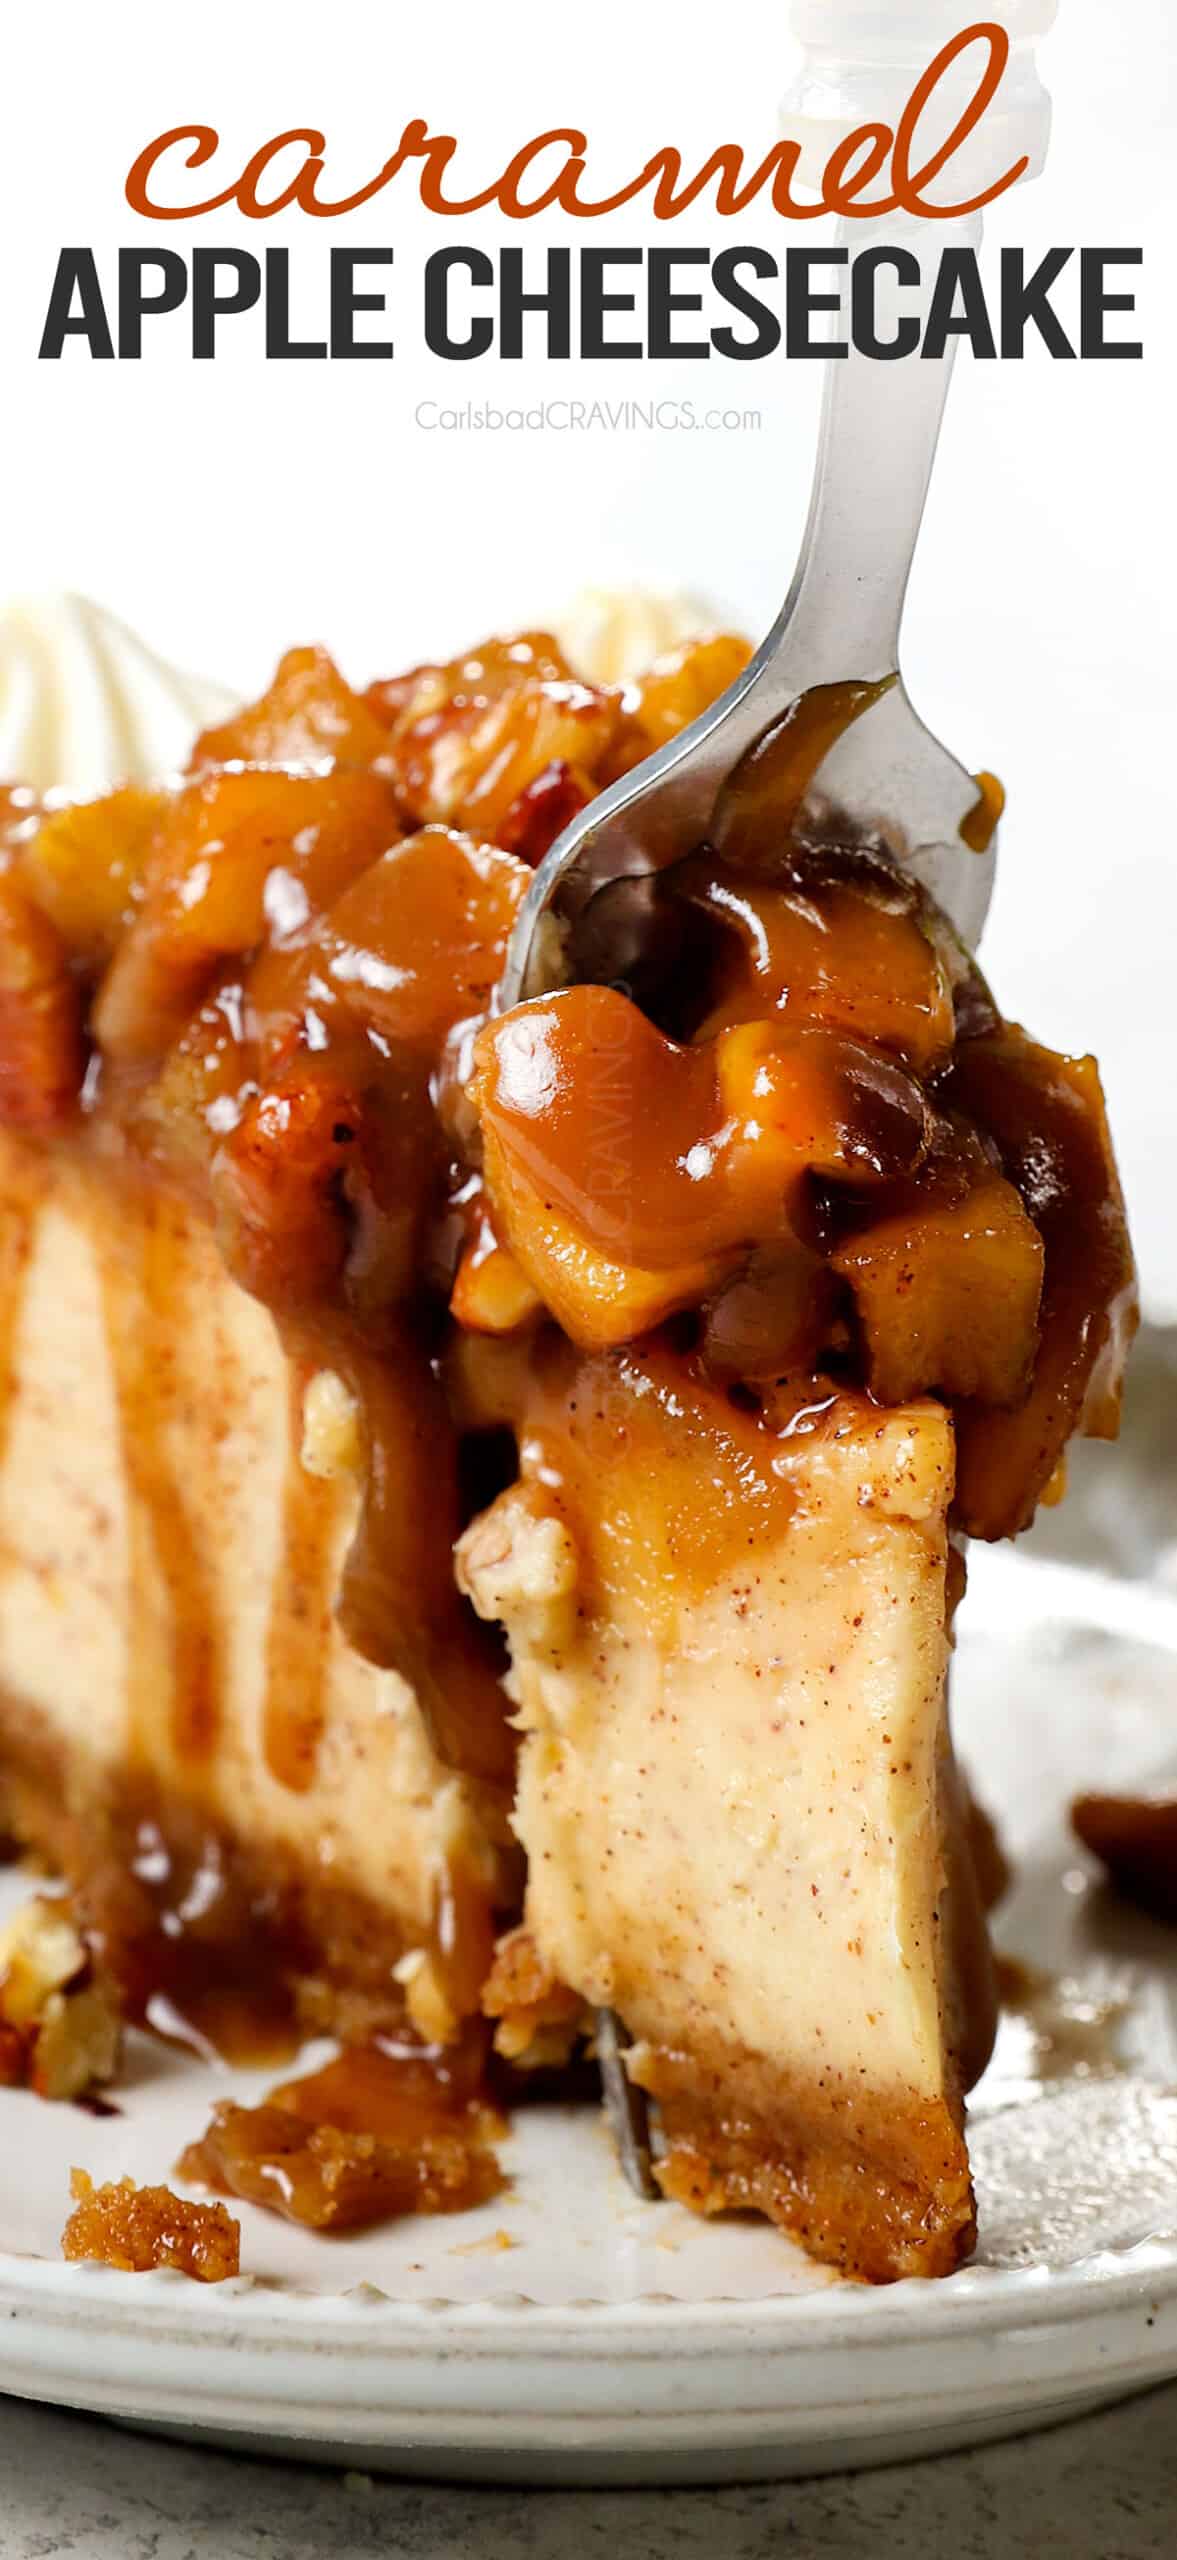
Step 9: Serve!
- Add caramel: Carefully slide the cheesecake onto a serving platter. Drizzle with camel sauce, slice into wedges, and dig in!
Apple Cheesecake FAQS
Cheesecake is the creamiest when not overbaked. You don’t want to bake the apple cheesecake until completely firm in the middle or it will be overcooked it cools, resulting in dry, heavy, far less creamy cheesecake. Instead, bake the cheesecake until the outside is firm and the center of the cheesecake gently jiggles.
What does this look like? Gently shake the cheesecake wearing oven mitts so you don’t burn yourself. If the outside of the cheesecake is firm and only a small 2-3-inch circle in the center jiggles slightly, it’s done. If the jiggling circle is larger than a few inches, then bake on.
The baking time can vary due to the differences in ovens, baking pans, beating times, etc., so make sure to check the cheesecake at 75 minutes then add additional time as needed.
A water bath may sound exotic but it simply means baking the cheesecake in a springform pan set in a larger roasting pan surrounded . Cheesecakes require a water bath so the cheesecake doesn’t crack. Here’s how it works:
1The water bath helps the cheesecake bake evenly. The hot water insulates the outer edges of the cheesecake so the edges don’t bake more quickly than the middle. This ensures even baking throughout and lessens the likelihood of the cheesecake cracking, sinking, puffing up, darkening or curdling.
2A water bath creates a moist environment. This is important because cheesecakes are egg-heavy. Eggs need steam caused environment to properly rise and avoid drying out or burning, which again causes cracking.
1. Springform pan:You will need one 9-inch springform pan or you can use a 10-inch springform pan but be prepared to reduce the baking time. A springform pan is tall enough to hold the cheesecake and most importantly, it springs open and the outside of the pan is removed. This allows you to easily remove the cheesecake and slice it.
2Roasting pan: You will place the springform pan inside the roasting pan, then pour water around the cheesecake to create a water bath. This prevents the cheesecake from cracking (more on the science below).
What if I don’t have a largeroasting pan? You can purchase a large, disposable foil pan from the grocery store for just a dollar or so if you don’t have a roasting pan. I suggest double stacking two pans because they are quite flimsy and can buckle under the pressure of the water. Take care to use oven mitts and two hands when removing the pans from the oven so you don’t lose your cheesecake!
If you follow the above tips for success, you shouldn’t have any cracks! If you happen to have a crack in your cheesecake, cover the entire surface with caramelized apples and no one will know!
Have you been chopping apples the easy or hard way for apple desserts? The most efficient way is to:
1. Peel the apples
2. Make 4 slices around the core to remove it
3. Lay your 4 remaining apple segments, cut side down, on a cutting board
4. Slice into 1/3-inch slices, rotate 90 degrees, then slice the other direction to create 1/3-inch cubes.
Apple Cheesecake Recipe Tips
possible recipe variations
What can I prepare ahead of time?
Almost all of the Caramel Apple Cheesecake can be prepared ahead of time. Here’s how:
•Crust: bake, cool then cover with foil 24 hours ahead of filling. No need to refrigerate.
•Cheesecake filling: beat the cheesecake ingredients together, cover and chill for up to 48 hours. When ready to bake, let the filling come to room temperature, then give it a whisk before layering onto the cooled crust just before baking.
•Cheesecake: can be made 48 hours ahead of time and tightly covered in the refrigerator (highly recommend – tastes better this way!).
•Caramelized apples: can be sautéed for 5 minutes, until almost tender, then, cooled and refrigerated with all the juices. Don’t cook them until tender, or they will overcook when reheated and won’t look as pretty. When ready to serve, reheat the apples over low, until the apples are warmed and tender.
How to store Apple Cheesecake
The cheesecake without the apples will store in the refrigerator for up to 7 days. Once you add the apples, the cheesecake will last for up to 3 days, however, it is at its prime while the apples are still warm. Store in a cake caddy/container, otherwise, use a large inverted bowl or tent with foil.
Can I freeze apple cheesecake?
Again, I prefer this Caramel Apple Cheesecake with the warmed apple topping, but you may freeze the cheesecake. The apple topping will soften after being frozen. After the cheesecake has chilled 8 hours, freeze
it uncovered on a baking sheet just until firm. Wrap the cheesecake in plastic wrap followed aluminum foil and finally in a large heavy duty freezer bag. Freeze for up to 3 months. To thaw, remove cheesecake from the freezer to the refrigerator. Let thaw overnight.

Caramel Apple Cheesecake
- Prep Time: 45 minutes
- Cook Time: 85 minutes
- Total Time: 2 hours 10 minutes
- Category: Dessert
- Cuisine: American
Description
This Caramel Apple Cheesecake is a showstopping dessert for Thanksgiving, Christmas, and every fall occasion in between! The lusciously creamy cheesecake is infused with cozy fall spices, topped with warm, brown sugar, cinnamon-spiced apples, then generously drizzled with silky caramel sauce all nestled in a buttery Graham cracker crust – need I say more? I’ve included detailed instructions on how to make Apple Cheesecake so it will be a runaway success even if you’ve never made cheesecake before. This recipe requires a few steps, but is mostly an assemble and wait dessert – and it’s so much easier than you think!
Ingredients
- 1 9-inch round, 3-inch high springform pan
- 1 3-8 quart slow cooker liner (or roasting bag)
- 1 large roasting pan
- parchment paper
- foil
- nonstick cooking spray
- 14 full sheets honey Graham crackers ((2 scant cups crumbs))
- 3 tablespoons granulated sugar
- 8 tablespoons butter, (melted (salted or unsalted))
- 4 8 oz. pkgs. (32 oz.) full fat cream cheese, (very soft )
- 1 ¼ cups granulated sugar
- 1 1/2 teaspoons ground cinnamon
- 1/2 tsp EACH ground ginger, ground nutmeg, allspice
- 1/4 teaspoon salt
- 1 cup sour cream (at room temperature)
- zest from 1 lemon
- 1 tablespoon vanilla extract
- 4 large eggs ( at room temperature)
- 1 large egg yolk ( at room temperature)
- 6 Granny Smith apples (about 42 ounces) (peeled, cored and chopped into 1/3" thick pieces)
- 2 tablespoons lemon juice
- 1 tablespoon cornstarch
- 2 tablespoons unsalted butter ((or salted and omit salt below))
- 2/3 cup chopped pecans ((optional but recommended))
- 1/2 cup packed light brown sugar
- 1/4 cup granulated sugar
- 2 teaspoons ground cinnamon
- 1/4 tsp EACH ground ginger, ground nutmeg, salt
- 1 tablespoon vanilla extract
- 1/3 cup caramel sauce, homemade or store-bought (<<click for recipe (HIGHLY recommend homemade!))
- whipped cream or ice cream ((optional))
Instructions
- PREP
- CRUST
- WATERPROOF PAN
- CHEESECAKE FILLING
- WATER BATH
- BAKE
- CHILL
- APPLE TOPPING + Caramel
- FOR SERVING: